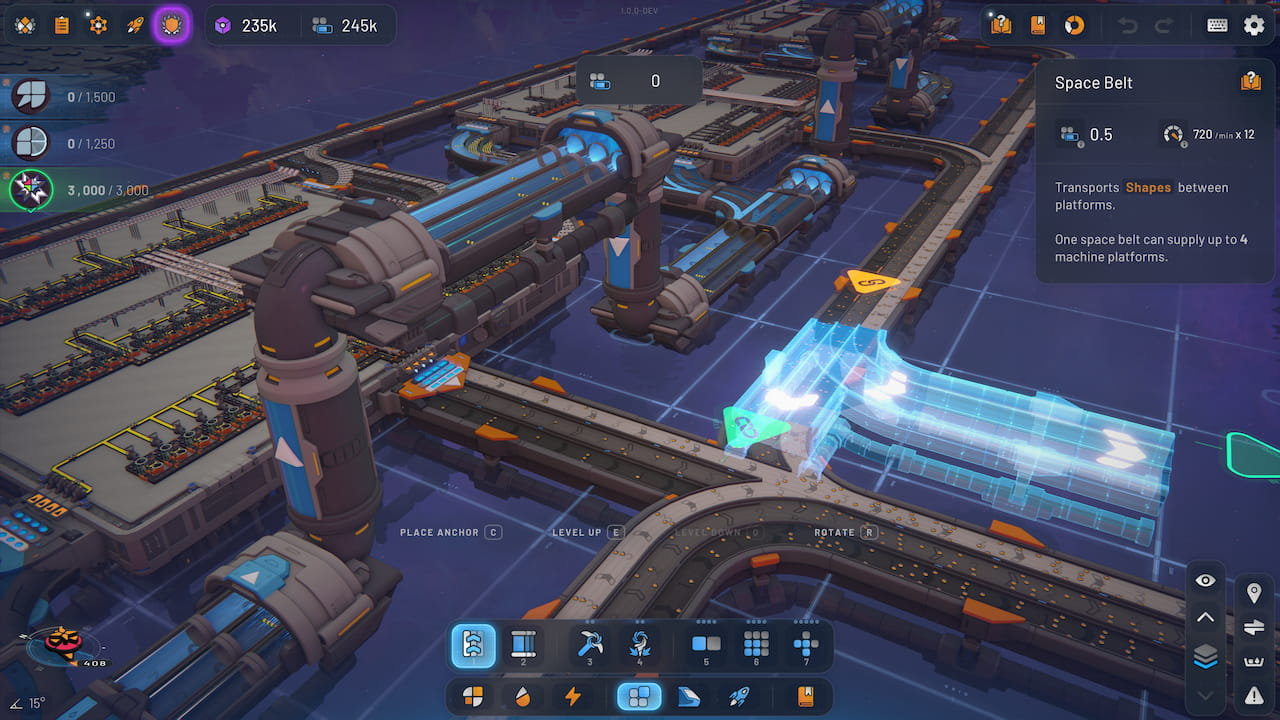
In shapez 2, a problem can start well before the point where you notice it. The final shape may be wrong, a belt may deliver too little, or shapes may back up on a Space Belt. Start by separating those symptoms. Wrong shapes call for tracing the processing steps; low output calls for checking machine capacity; a backup calls for following the flow farther downstream.
This guide covers the Steam version on Windows PC with a mouse and keyboard. Focus the inspection on three questions: is the shape correct, is there enough processing capacity, and can the parts move on? Use those checks to narrow the problem to one section, fix its cause, and only then clear incorrect shapes that are still in transit.
Identify the Symptom First
| Symptom | Inspect Next | Targeted Action |
|---|---|---|
| Wrong output shape, even occasionally | Trace shapes backward through each step until the error disappears | Correct the processing on the platform you narrowed it to, then clear affected shapes from the belts |
| Correct shape, but too few arrive | The relevant building info boxes and their “Machines per Full Belt” values | Match machine counts and distribution to the values shown for each step |
| Uneven flow or a Space Belt backup | Follow the Space Belt downstream and watch what changes at each platform | Inspect the narrowed platform for blocked or incorrectly supplied shapes |
Wrong Shapes: Find the First Faulty Step
The factory troubleshooting advice from tobspr Games starts at the final product: work against the direction of travel. After each operation, check whether the mistake is already visible. When it is absent on the input side of a step, inspect the platform between that point and the first wrong output. That is where a shape is first being processed or supplied incorrectly. The same method works when only some of the output shapes are wrong. Changing the final stage while its input remains wrong leaves the underlying fault in place.
Fix that section first. If incorrect shapes are still moving through it, select a Belt, Pipe, or the corresponding space component in the affected area and press O to select connected parts. According to the developer, an ordinary Belt or Pipe selection generally runs from one Space Belt to the next; a Space Belt selection generally runs from one platform to the next. Check the selection details in the right panel before pressing I. That key clears shapes currently being produced in the selected area. It removes shapes still in transit after your fix; it does not repair the faulty layout for you.
Low Throughput: Match Machines to Full Belts
If the shape is correct but arrives too slowly, select a building in the suspected production step. Its info box on the right shows how many of that building are needed to process a full belt. Use the value shown in your game for the selected building and your current upgrades. Check consecutive operations separately: supplying enough material to one step does not establish that the next step can process it at the same rate.
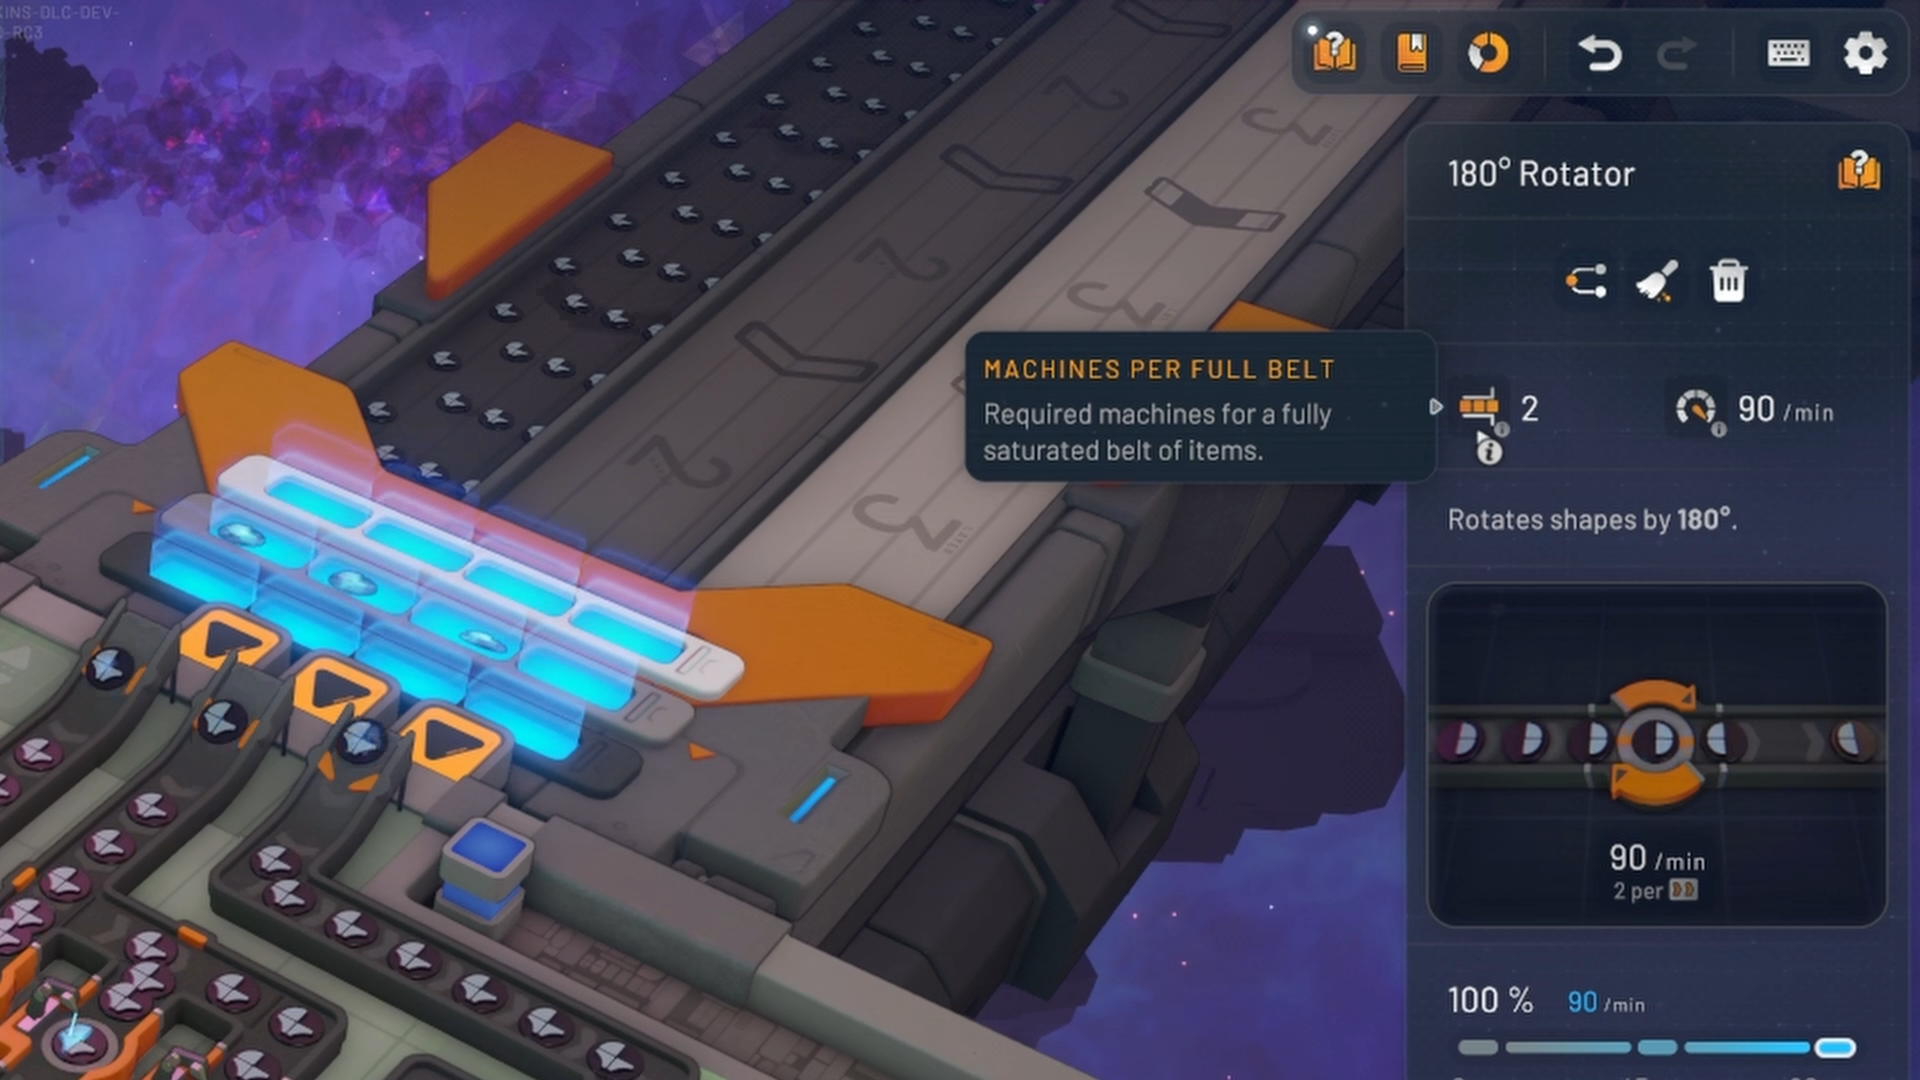
When two operations need different numbers of machines per full belt, merge the first operation’s outputs back into one full belt, then split it for the next operation. This avoids trying to connect each output directly to a differently sized machine group. The developer illustrates the idea with three machines for one operation and four for the next; those numbers are an example, not fixed capacities. The info boxes in your factory provide the figures to use.
Backups: Narrow Down the Downstream Bottleneck
If a Space Belt’s flow is uneven, follow it in the direction the shapes travel. Watch the sections before and after each platform. The developer advises that a platform after which the Space Belt no longer visibly backs up, or no longer looks completely full, helps narrow down the suspect section. Inspect that platform’s inputs, processing, and output. A less full belt by itself does not establish a fault; relate the observation to the backup you are tracing.
Also check the shapes on ordinary belts. Mixing different shapes on one belt without a suitable wiring and sorting design can leave stray items stuck; sorting options unlock later. If different shape types need to travel along the same route, different Space Belt layers can carry them separately. You still need to check that each following platform receives the intended shape.
Make Recurring Faults Easier to Trace
For operations you use repeatedly, the developer recommends platform blueprints with one job each, such as rotating, cutting, lifting, or painting shapes. Connect those modules in the required order. If a shape later goes wrong, you can inspect the transition between specific operations. For a small working section, selecting it and using Ctrl+C and Ctrl+V may be enough to copy and paste it. Use Ctrl+Z to undo a placement mistake.
If you need help with a building or operation, open the in-game Codex using the book button at the top right or G. The developer’s starter tips describe its search function and example videos, which can help you look up the step you are checking.
Sources
- store.steampowered.com
- shapez2.com
- store.steampowered.com
- store.steampowered.com
- store.steampowered.com
- store.steampowered.com
Cover Image: tobspr Games · shapez2.com
Comments
No comments yet. Start the conversation.
Join the Community
Sign in or create a free account to comment. Comments are moderated.